While sewing 6 tote bags for our Guild- Neuse Quilters- to donate to the American Red Cross,
I came up with this method to attach the handles
and thought I would share with you.
First pin in place with handle just below the second row of top stitching.
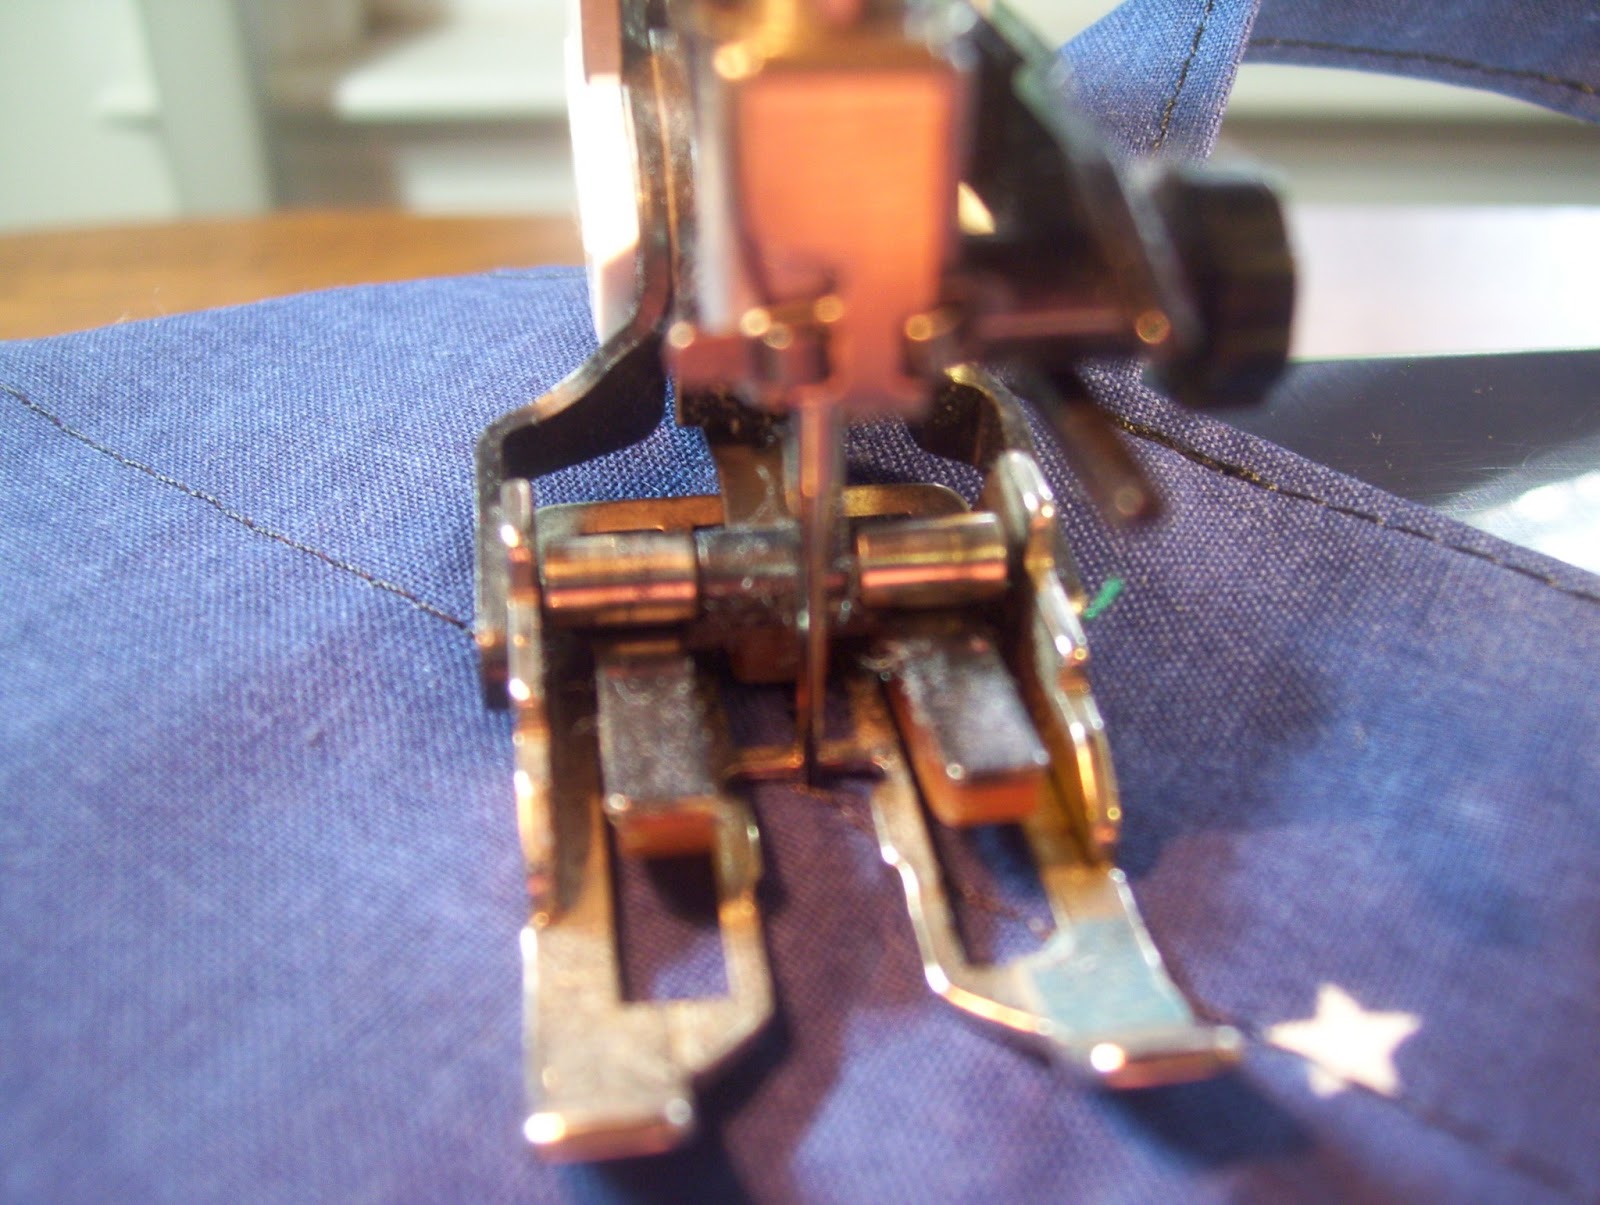
Stitch across the first row of top stitching.
then back stitch over to reinforce.
With the needle in the down position, pivot to a 45 degree angle
and stitch diagonally.
You can feel as you reach the folded edge of the handle underneath.
Again pivot with needle and
back stitch over the second row of top stitching on the bag.
Pivot with needle down and stitch another 45 degree angle diagonally
to the top corner.
Back stitch for final reinforcement.
Voil`a
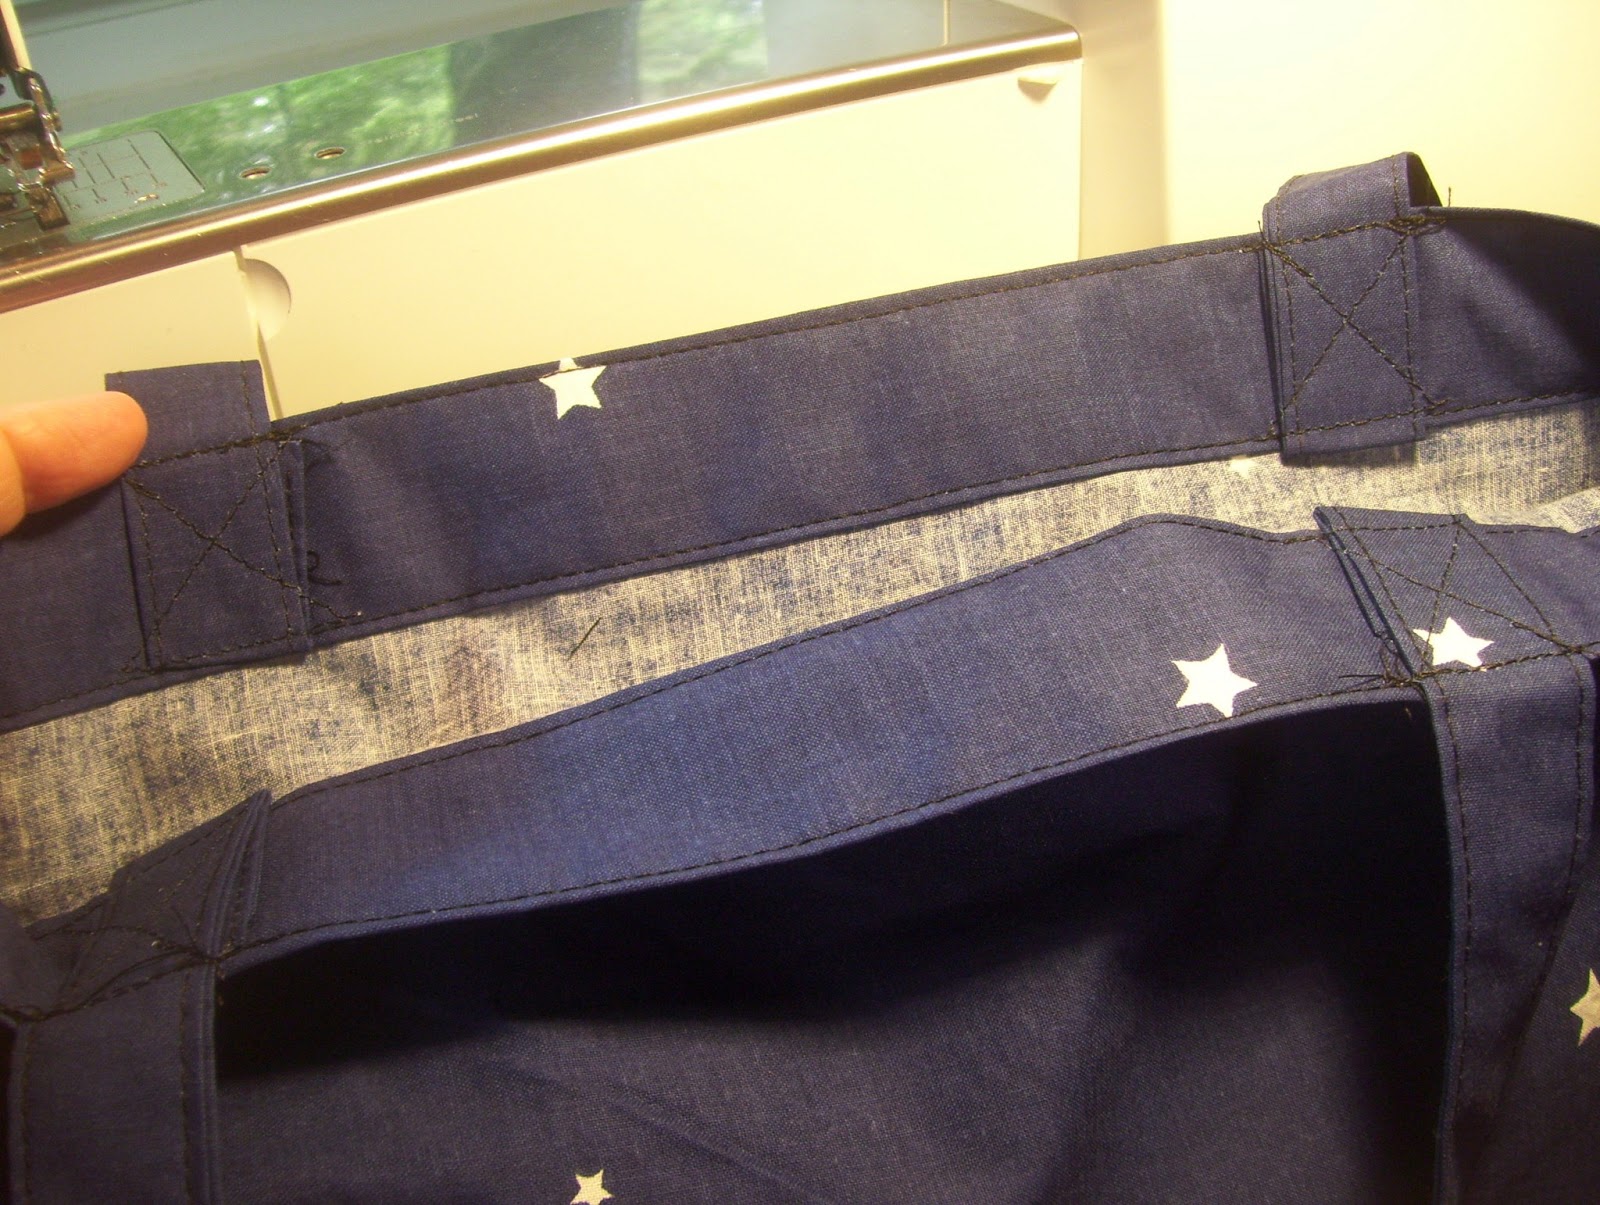
Outside
Inside..
you can see here where I placed the handle just below the second top stitching row.
The handle is folded up about 1 1/2 " and place to the inside.
All four from the inside and
the outside.
Hope this is helpful.
It only takes a few minutes for all four.
6 Totes for American Red Cross
Blessings all,
Kathy